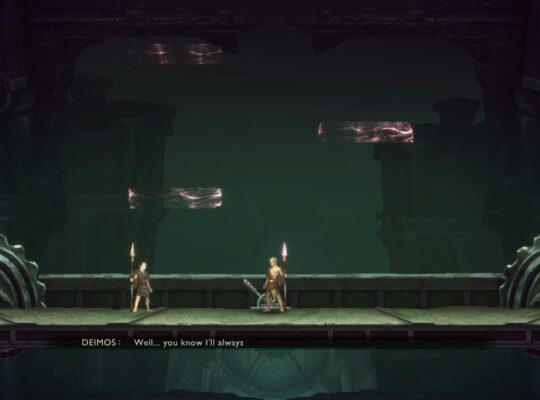
Chapter 16: Dark Shrine Path – Special Attacks and Gameplay Strategy
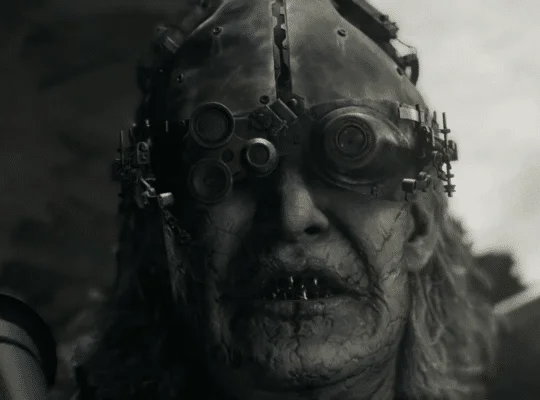
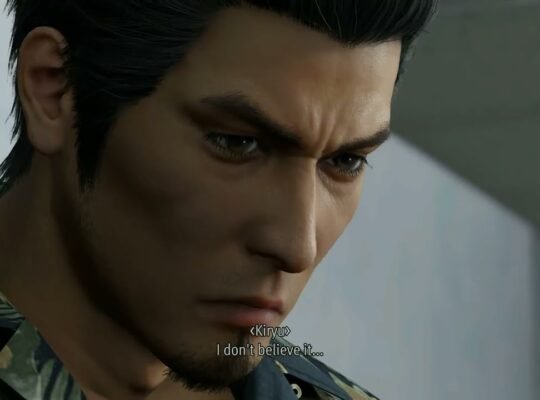
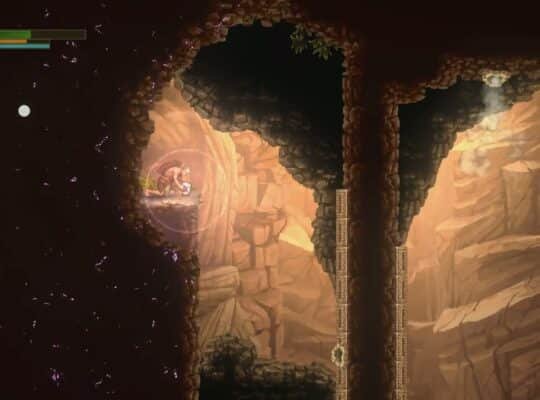
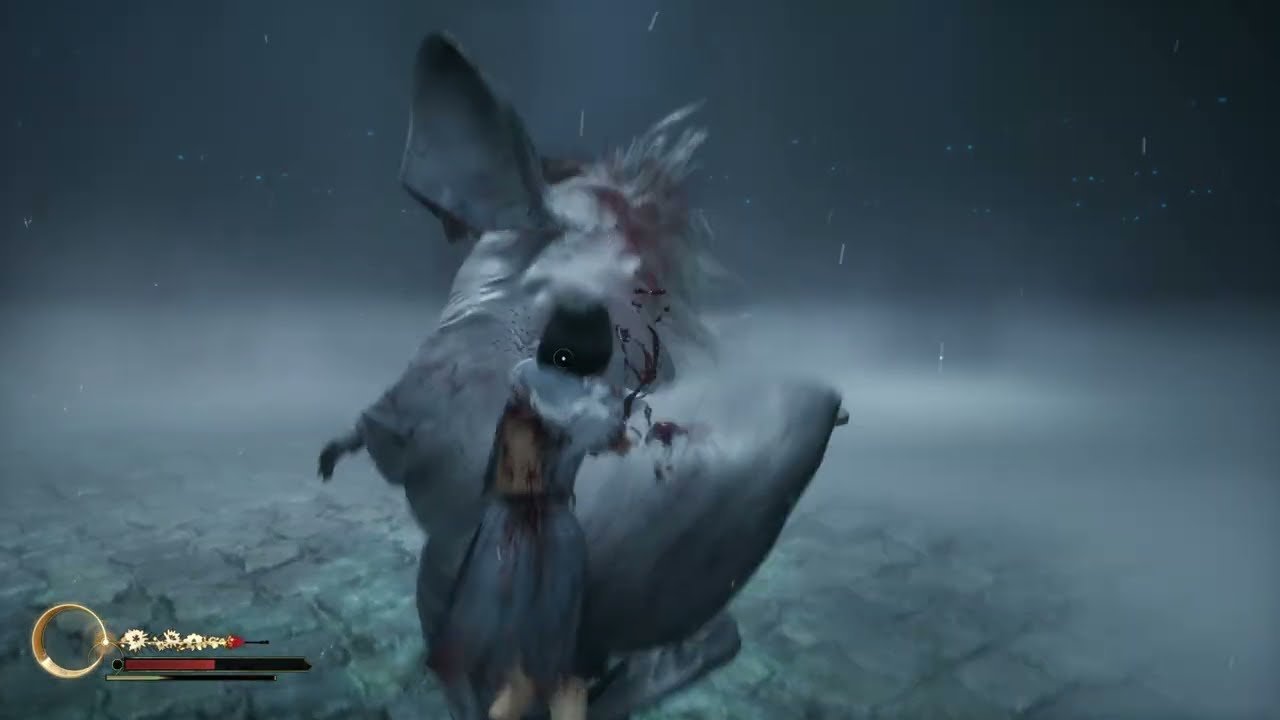
Welcome back to the fog, survivors! The Shiromuku Boss Fight in the Dark Shrine Path presents one of Silent Hill f‘s most challenging and visually stunning encounters. This boss, a vengeful figure in a traditional white wedding kimono, utilizes a lethal ghostly scythe and overwhelming area-of-effect attacks.
Use this guide and the accompanying video walkthrough to conquer this spectral bride and continue your journey through Chapter 16.
Watch the Full Boss Fight Walkthrough: Silent Hill f – 16 Dark Shrine Path: Defeat Shiromuku Boss Fight | Special Attacks Gameplay
Shiromuku Boss Overview
- Location: Dark Shrine Path (Chapter 16)
- Difficulty: High (Focuses on rapid movement and environmental pressure in Phase 2).
- Key Mechanic: Proper dodging and recognizing the real enemy when clones appear.
Phase 1: The Scythe and the Sphere
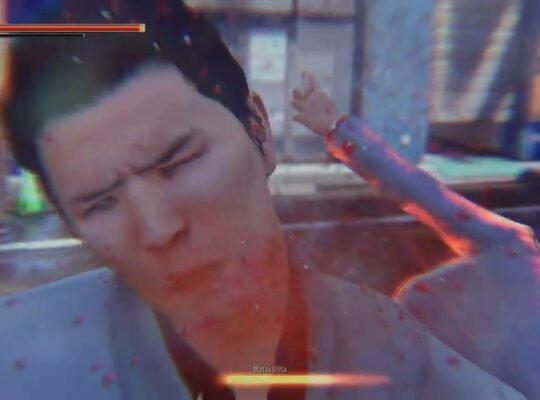
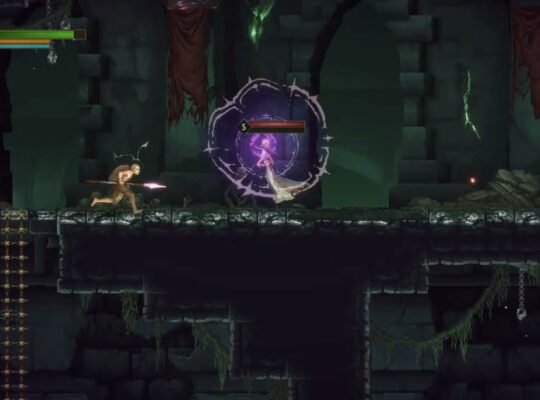
The first phase establishes the boss’s core moveset, all centered around her deadly scythe and a signature red energy attack. Your primary strategy should be to prioritize dodging over parrying and only counter-attack during her recovery windows.
Special Attacks & Strategy (Phase 1)
| Attack Name | Visual Cue / Timestamp | Strategy |
| Standard Scythe Sweep | A slow, winded-up horizontal swipe. | Dodge: Roll into the attack or underneath the scythe to gain favorable positioning [00:15]. |
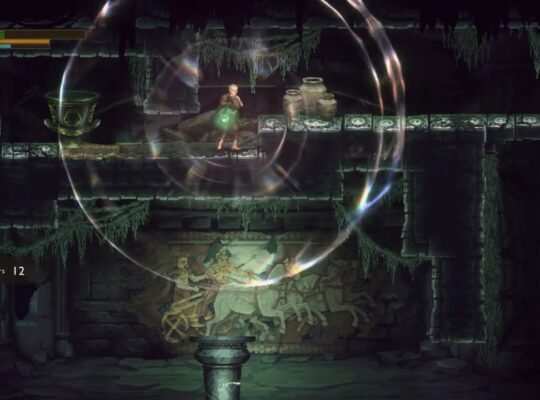
| Red AOE Sphere | The boss stops, channeling a large, glowing red circle on the ground around her. | Dodge: This attack will explode after a 1-second delay. Immediately dash/roll out of the red circle, then close the distance for a 2-3 hit counter [00:25]. |
| Teleporting Slash | The boss briefly disappears and immediately reappears right next to you, often followed by a quick vertical scythe slam. | Dodge: Listen for the teleport sound cue and execute a quick dodge backward or to the side as soon as she reappears [00:35]. |
| Scythe Dash Attack | The boss lowers her stance and quickly rushes forward, dragging the scythe along the ground. | Dodge: This is a quick thrust. A well-timed parry or a side-roll is required to avoid taking major damage [01:20]. |
Export to Sheets
Strategy Tip: Focus on damaging the boss after she completes her Red AOE Sphere attack. The recovery time is generous enough for a small combo before she begins her next move [00:50].
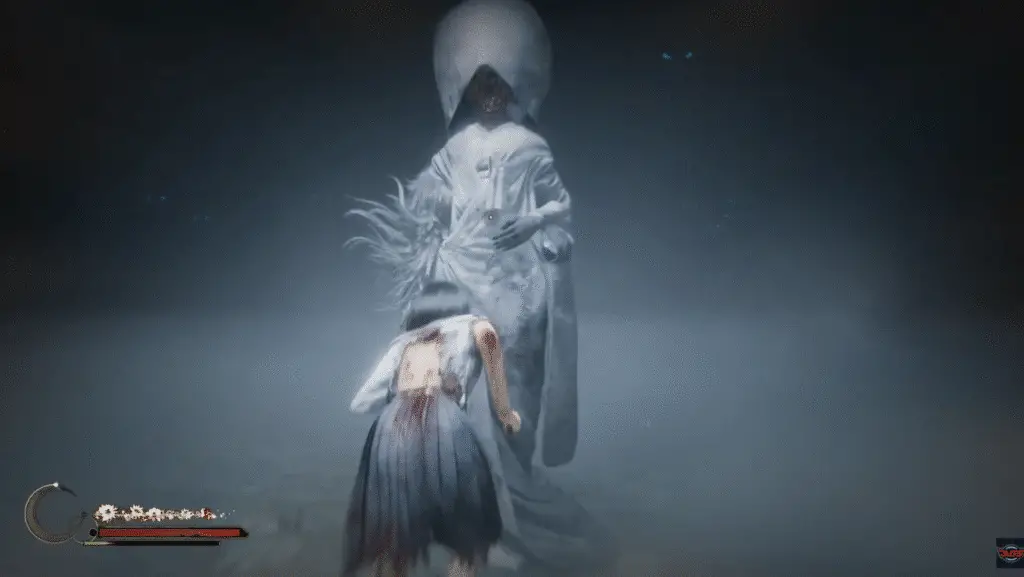
Phase 2: The Brides of Chaos
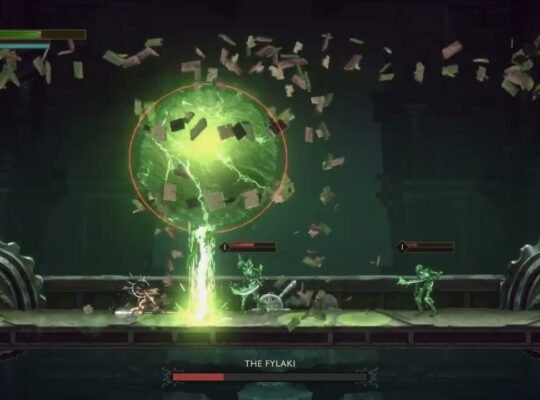
Once the boss’s health is reduced to approximately 60% (around [01:45]), she enters the second, much more difficult phase by summoning clones.
Key Mechanic: The Clones
- The boss will summon translucent clones that move and attack alongside her [02:00].
- Danger: The clones all use the Red AOE Sphere attack simultaneously, shrinking the safe zones and making the arena claustrophobic [03:10].
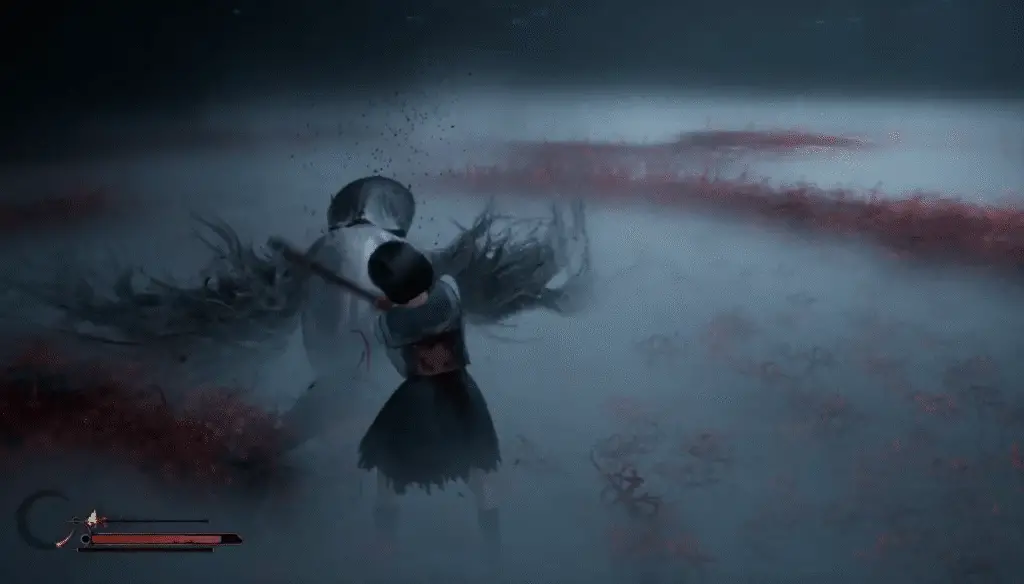
Strategy & Survival (Phase 2)
- Identify the Target: Only the primary, non-translucent Shiromuku boss can be damaged. Focus all your attacks and lock-on only to the real boss.
- Constant Movement is Key: Your primary job is to keep sprinting and rolling around the arena to avoid the overlapping red circles created by the clones [02:25].
- Bait and Punish: Look for a brief moment when the real boss is isolated or recovering from her own attack (not the clones’ attacks). The best opening is still after her personal Red AOE attack, even with the clones present.
- Multi-Hit Combo Warning: The boss will now use a more aggressive Multi-Hit Scythe Combo (3-4 rapid swings) [02:45]. Dodge backward repeatedly to create distance, then wait for the brief recovery window at the end of the chain before rushing in for a quick counter.
Final Push: Keep the pressure on the real Shiromuku. When she is close to defeat (around [04:30]), her attacks will become faster and more desperate. If you can, use any special/limit break abilities here to end the fight before you run out of healing items.
Final Tips from Jason’s Video Games Source
- Weapon Choice: Use a fast-hitting weapon (like the Katana) over a slow, powerful one. The attack windows are too short for slow weapon recovery.
- Consumables: Keep your HP topped off. A single mistake in Phase 2 can lead to a chain of clone AOEs that will quickly deplete your health bar.
- End the Horror: After her final health bar is depleted, you are victorious [04:45]!
Find more expert video game guides and horror coverage at jasonsvideogamessource.com!
Silent Hill f – 16 Dark Shrine Path: Defeat Shiromuku Boss Fight | Special Attacks Gameplay