0:13
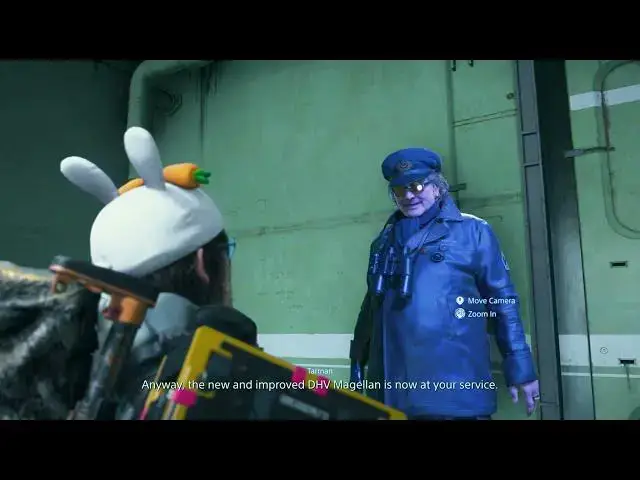
did you sleep well, Sam? Repairs to the
0:16
DHV Mellan are now complete. We're ready
0:19
for you to chart our next course. The
0:21
main cannon has been fitted as well, but
0:24
it'll take a while for it to be
0:25
calibrated. I'll let you know when it's
0:27
ready for use. Anyway, the new and
0:30
improved DHV Mellin is now at your
0:33
service. Finish off anything you need to
0:35
do out there, then prepare to continue
0:38
expanding the Chyal network. We're
0:40
counting on you, Sam.
1:07
Sam, this is Charlie. Your next order
1:10
requires that you accomplish two
1:12
specific objectives. First of all, you
1:16
are to proceed to the armed survivalist
1:18
base and destroy all the Chairo jammers
1:21
you find there. So long as even a single
1:24
one remains active, you will be unable
1:26
to use your cupid to link up the next
1:28
facility. It is therefore essential that
1:31
you remove this impediment before
1:33
proceeding any further. Our latest
1:35
reports indicate that there are hostiles
1:37
on site who are equipped with
1:39
electromagnetic shields. This would give
1:42
them a significant defensive advantage.
1:45
So engaging them headon in a firefight
1:47
may lead to a prolonged and difficult
1:50
struggle. If you intend to go on the
1:52
offensive, consider the properties of
1:54
your weapons carefully before deciding
1:56
which ones to bring with you. After you
1:59
have destroyed all the Cairo jammers at
2:01
the enemy's base, head directly to the
2:03
Southern Environmental Observatory. A
2:06
contingent of ghost mechs has been cited
2:07
dangerously close to the facility. We
2:10
need to bring it onto the Cairo network
2:12
before these mechs can get into position
2:14
and prevent us from doing so. Once
2:17
you've extended network coverage, the
2:19
DHV Mellin can move there to provide
2:21
support. There's no time to waste, Sam.
2:41
Commencing route creation.
2:58
Delivery route finalized.
5:11
We'll take good care of this agent.


